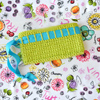
This is the photo tutorial for making a Ribbon Strap for the Lucky Wristlet.
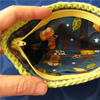
This is the photo tutorial for making a zippered lining for the Lucky Wristlet.

This is the photo tutorial for crocheting my Lucky Wristlet pattern.
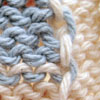
Woo hoo! Check out my
Intarsia 101 tutorial on CRAFT Magazine's site.
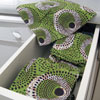
These small squares of fabric were made to be used in place of paper towels for most of the things we use paper towels for.
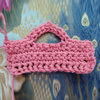
This is a supplement to the original
foundation single crochet tutorial. Here I show you how to make a foundation single crochet bridge in the middle of your work. I first used this when making the Icelandic Turtleneck for the arm holes. I also use it to make the handles on my handbags.
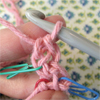
This foundation single crochet tutorial is broken down by each teeny-tiny step. When I first attempted to learn this technique from a magazine, I had pretty good illustrations to go by, but I was still totally confused by the whole thing. It took me 3 or 4 tries over a couple of months to even feel confident that I was doing this correctly.
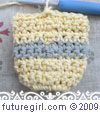
This way to do seamless single crochet is way-better than
my original single crochet tutorial, especially if you're doing color changes. Why? Because it's simpler, the color changes are cleaner looking, and there are no complicated stitch depths involved. I posted a
comparison of the two techniques if you'd like to see the differences. Even a newbie will be able to follow this tutorial.
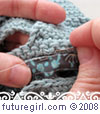
This tutorial demonstrates how to hand sew a lining into a crochet bag. Each step is accompanied by a photo.
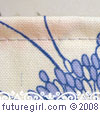
Well, it's unanimous ... everyone adores this gorgeous fabric! It was bought to cover the serving tables at a baby shower. What a cute idea, right?
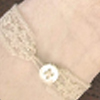
I wanted to make something simple, fast, and feminine the other day. I found this off-white, lacy seam binding in my stash and a simple shell-like button. In about 5 minutes, I had this cute little bracelet.
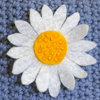
Create quick and easy daisies from felt. Each step is accompanied by a photo.
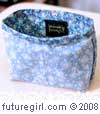
This tutorial demonstrates how to machine sew a lining for any type of bag. The included lining worksheet helps you calculate the lining dimensions based on the measurements of your own bag. Each step is accompanied by a photo.

Now that I have two tutorials on hand sewing felt, I thought it would be a good idea to talk about the benefits and disadvantages of both. Each works well and brings a distinct look to your hand sewn item. It's worth it to think about what sort of effect you are going for to help you choose the right stitch.
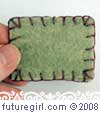
This step-by-step tutorial explains exactly to use the blanket stitch to both sew two pieces of felt together and use it as an edging. There are special tips on how to go around corners, to stitch around circles, and what to do if you run out of floss in the middle. Each step is accompanied by a photo.
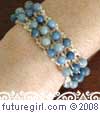
This easy-to-crochet bracelet is perfect for summer fun. The cotton thread is washable so you can wear it through all your outdoor adventures.
In this tutorial, I show you how I make my handbag labels and how you can embroider any design onto felt. Photos illustrate every step of the process.
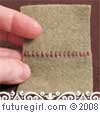
This step-by-step tutorial explains exactly to use the whip stitch to sew two pieces of felt together. Each step is accompanied by a photo.
I've decided to embrace my inner cheapskate and add to my paper clip stitch marker stash. For all you thrifty chicks who want some inexpensive, colorful stitch markers, here's how I make them ...