This post actually contains two tutorials involving the blankets stitch:
- How to sew two pieces of felt together using blanket stitch
- How to sew an edging using blanket stitch
There are also some helpful extras, like:
- How to start if you aren't going all the way around
- How to handle corners
- How to stitch around circles
- What to do if you run out of floss in the middle
It's a lot to pack into one post, but they all involve the blanket stitch, so I thought they should all be together. Let me know if there is something I can make more clear.
For other options to hand sew felt see my
whip stitch tutorial and my post about
choosing between blanket stitch and whip stitch.
Note One: All stitches should go in and come out the same distance back from the edge of the felt. When making an object that will be stuffed, about an eighth of an inch works well. If you are making an edging, use whatever length looks best. Also keep your stitches the same distance apart.
Note Two: I used to struggle with knotting my floss, but Heather Bailey's
Best Knot Ever Tutorial changed my hand sewing and embroidery forever. Seriously.
Sewing two pieces together (and how to stitch around a corner)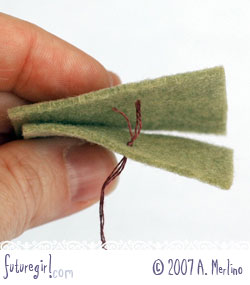
| (1) Place the wrong-sides of the felt layers together.
Take your knotted floss and go from the inside of the front layer through to the outside. The knot should be sandwiched between the two layers with your floss coming out of the front layer. |
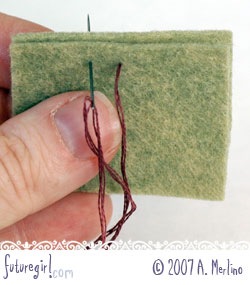
| (2) Insert the needle to the left of where the floss is coming out of the front piece. |
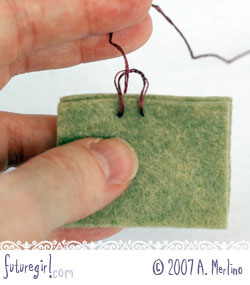
| (3) Pull the floss through most of the way, then put your needle through the loop from the back to the front.
Pull the first stitch so it is a little loose. You will need the loose floss to complete the last stitch. See next image for reference. |
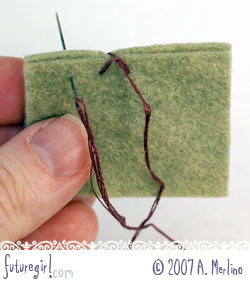
| (4) Insert the needle to the left of your last stitch. |
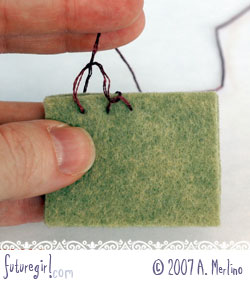
| (5) Pull the floss through most of the way, then put your needle through the loop from the back to the front. Pull this stitch (and all subsequent stitches) tight so the vertical bar is straight up and down.
Continue across using step 4 and 5. |
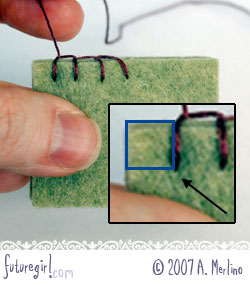
| (Corner 1) Make the last stitch before the corner so your needle goes in right where the inner corner of a square would be if you made a square from the corner. See inset in image for clarification. |
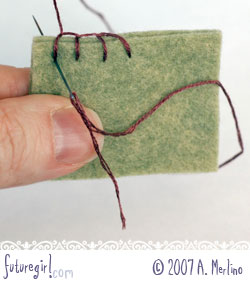
| (Corner 2) Insert needle into same place as last stitch. |
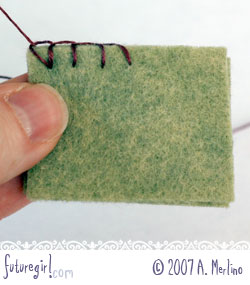
| (Corner 3) Complete stitch so that bar is diagonal from the needle insertion point to the corner. |
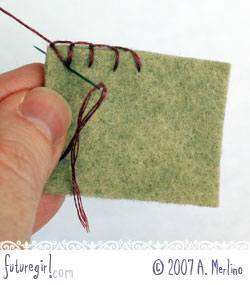
| (Corner 4) Insert needle into the same place as the last two stitches. |
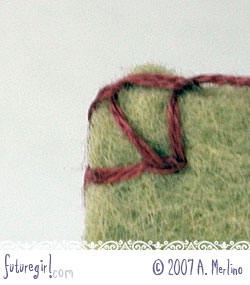
| (Corner 5) Complete stitch so that the bar is perpendicular to the first corner stitch.
Continue across using step 4 and 5. |
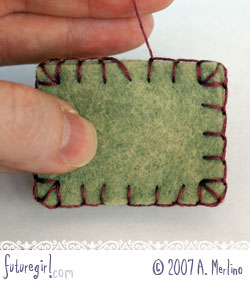
| (6) Finish the last stitch before you need to join to the beginning. |
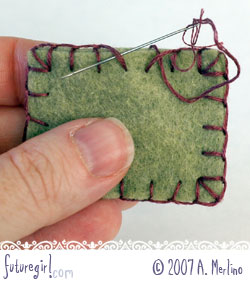
| (7) Place your needle under the vertical bar of the first stitch. |
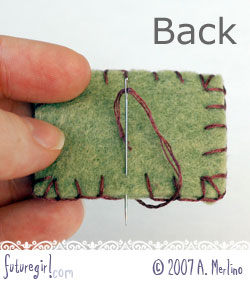
| (8) Insert your needle in the back piece of felt so the tip comes out between the pieces of felt at the top (see next image for reference). Your needle should go in the back piece where the stitch would normally come out. |
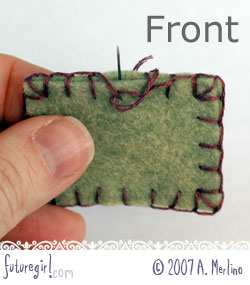
| (9) This is the same step as the last one, just a different view to show you how the needle is going in through the back piece and coming out between the felt pieces at the top. |
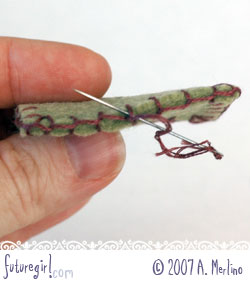
| (10) Pull tight. This is why the first stitch needs to be a little loose, because it becomes a right angle in this step. The stitches should all look right now.
Place your needle under the back bar you just created and make a knot. |
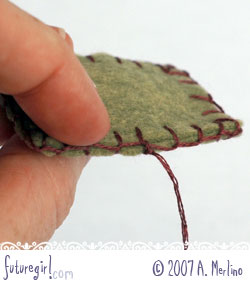
| (11) This is the completed knot. |
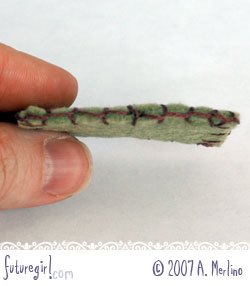
| (12) Insert your needle between the felt pieces and have the end come out somewhere else on your piece. Pull the thread through and tug a little to bury your knot between the felt pieces. |
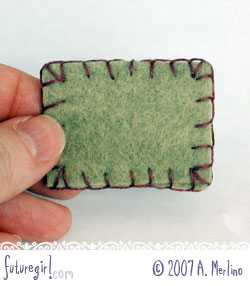
| (13) You're done! |
How to start if you aren't going all the way around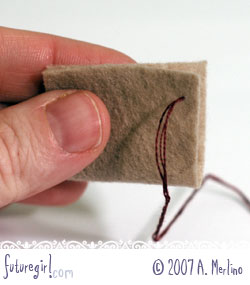
| (1) This is a technique I use when I'm doing just a little bit of blanket stitch, such as the bottom edge of this jellyfish.
Place the wrong-sides of the felt layers together.
Take your knotted floss and go from the inside of the front layer through to the outside. The knot should be sandwiched between the two layers with your floss coming out of the front layer. |
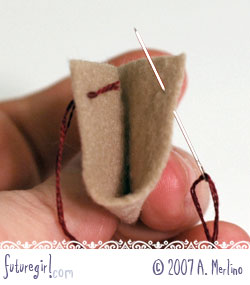
| (2) Insert your needle in the back piece of felt so the tip comes out between the pieces of felt at the top (see next image for reference).
If you are stitching the edging on a single piece of felt, put your needle through the starting knot in this stage. |
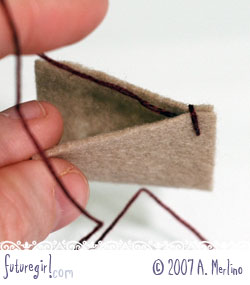
| (3) Pull the floss through to tighten stitch. The thread should be coming out from between the felt layers to the left of the stitch. |
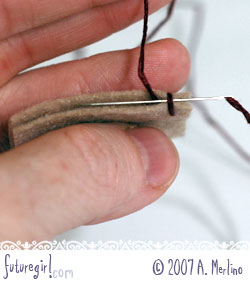
| (4) Put your needle under the first stitch on from right to left. |
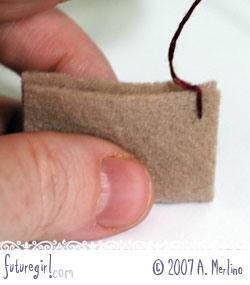
| (5) Pull the needle through. There is now a loop around the top of the first stitch. |
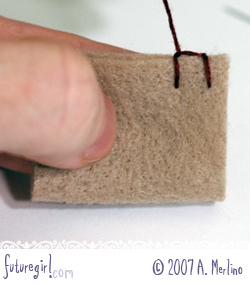
| (6) Continue blanket stitch according to instructions above (step 2). When you start the blanket stitch this way, the first stitch stays vertical. |
Sewing an edging (and tips for round objects)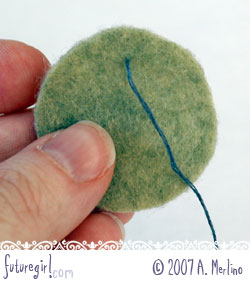
| (1) Insert your needle from the back of the piece so it comes out the front. |
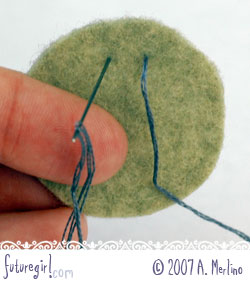
| (2) Insert the needle to the left of where the floss is coming out of the front piece. |
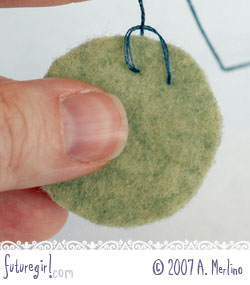
| (3) Pull the floss through most of the way, then put your needle through the loop from the back to the front.
Pull the first stitch so it is a little loose. You will need the loose floss to complete the last stitch.
If you are stitching around a circle, make this stitch VERY loose. You will need lots of extra floss to complete the last stitch. |
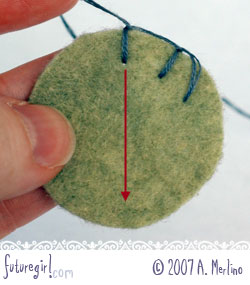
| (4) You will make your stitches following step 4 and 5 above. When stitching around a circle keep your stitches straight by holding the circle so your stitch is at the top and imagining your stitch continues down the circle through the center. The red arrow is your imagination. |
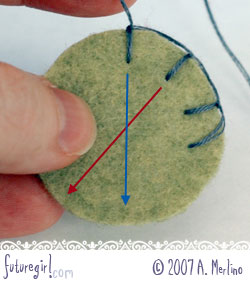
| (5) Here is the next stitch and it's blue imaginary arrow. See how the red and blue arrows cross in the center of the circle? All of your stitches should point toward the middle. |
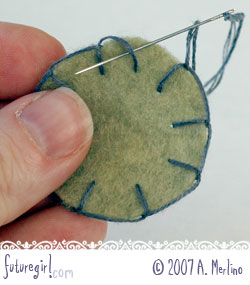
| (6) Complete the edging by putting your needle under the vertical bar of the first stitch. |
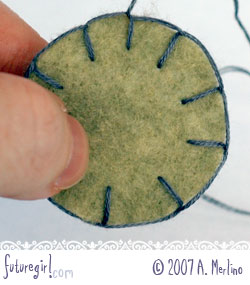
| (7) Pull tight. |
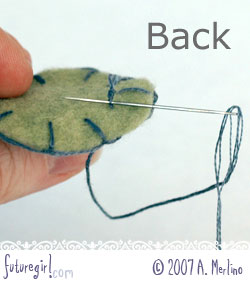
| (8) On the back, put your needle through the initial knot. |
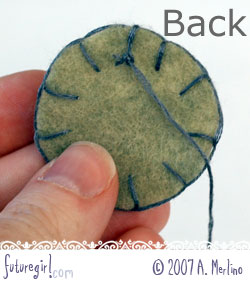
| (9) Make your final knot. |
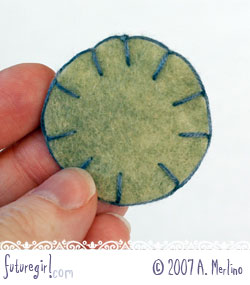
| (10) You're done! |
What to do if you run out of floss in the middle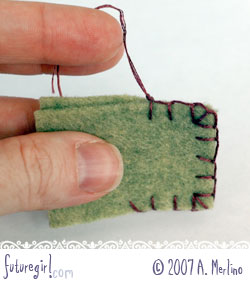
| (1) Knot your floss at the top of the last stitch. |
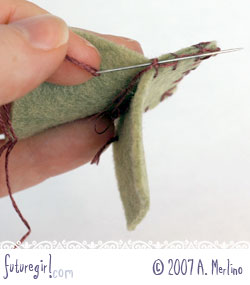
| (2) Insert your needle (threaded with knotted floss) into the knot you just made and pull until the new knot is against the knot you just made. Both should be hidden between the pieces of felt. |
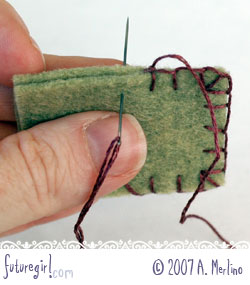
| (3) Insert your needle into the felt to the left of your last stitch. |
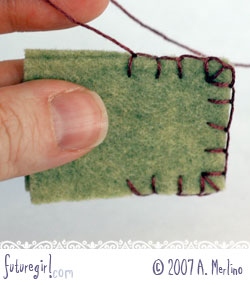
| (4) Complete the stitch as normal. |