When I started making handbags, I wanted cool labels. I looked into ordering them, but I didn't like the standard options, and custom labels were way too expensive. My solution was to hand embroider labels on felt.
I thought this would be a temporary thing until I could find labels to buy, but I've come to love the ability to customize each label to match it's handbag. This technique also works well for patches like the
anatomical heart cameo on Bitter Betty's handbag.
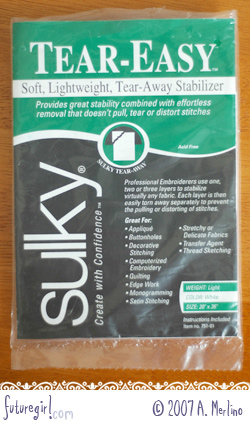
Because felt is so fuzzy, you can't trace an intricate design directly on the felt, nor can you iron-on an embroidery design (wouldn't acrylic felt melt?). To get around this, I use tear-away stabilizer.
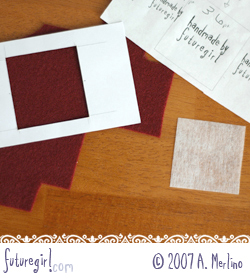 | 1) Cut out a 2-inch square of felt, a 2-inch square of stabilizer, and print out your design.
I have a 3" X 5" card with a 2-inch square cut out of it so I can just trace a square on the felt. I've used my rotary cutter to make a ton of 2-inch squares of stabilizer.
2-inches square are the dimensions of my label, adjust the size for other designs. |
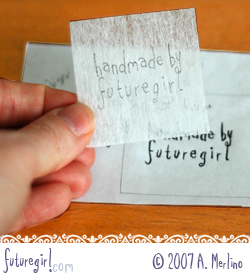 | 2) Trace design on the stabilizer.
For word embroidery, I make sure the grain of my my stabilizer runs top to bottom because there are many vertical lines. This makes the stabilizer easier to remove later.
I use .05 mm pen so the line is very precise and there is less ink to rub off on my floss. I haven't found an ink that doesn't rub off yet. I think it's because the stabilizer is plastic-y. |
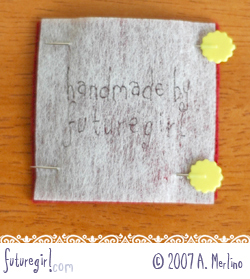 | 3) Pin the stabilizer to the felt.
The stabilizer is rigid enough that I can just hold it (no hoop necessary). I take out the pins once part of the design is done because it doesn't slide around. |
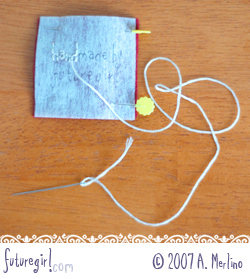 | 4) Embroider design.
Pull stitches tight, but try not to pull them through the stabilizer. Note that I didn't pull too much floss through the eye of the needle. The ink only rubs off on the floss where it folds through the eye of the needle, so when using light-colored floss, I'm careful to not pull too much through. The 'dirty' floss becomes a part of the knot on the back and is never seen. |
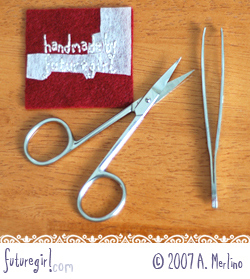 | 5) Remove stabilizer.
The stabilizer I use is for machine embroidery, so I can't just tear it away (I almost had a heart attack the first time I tried.). I carefully trim away most of the stabilizer with manicure scissors and carefully pull it out from between the stitches with tweezers (these are two very useful craft tools). This step requires patience and concentration. I haven't snipped the design or yanked out a stitch yet (knock wood), but I'm sure I will eventually. |
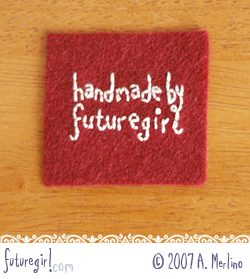 | 6) Your design/label is finished.
Yay!
Well, actually I trim about 1/4th inch off the top and bottom before I sew it into a handbag. |
When my stabilizer runs out, I'm going to see if they have a lighter weight version that will be easier to remove, but I'm afraid my embroidery stitches will just pull right through a lighter stabilizer. That would make it impossible to embroider because you can't really see the stitches through the stabilizer.
Recently, "Anonymous" commented saying she uses a similar technique with wax paper and a Sharpie™ (let it dry thoroughly). When she's finished, she just crinkles up the wax paper and it tears away easily. If I try it, I'll let you know how it works for me.
If you have any tips on making this process easier, please let me know.